Monday 25 February 2013

Watercolour cards

Jasmine and I made watercolour cards. I was inspired by an activity I saw on Grow Creative blog - striped heart watercolour tutorial. I follow Elise's blog regularly. She is very talented with her use of watercolours. I recommend you check out her blog tutorial. Jasmine and I are beginners when it comes to watercolours. However, we had fun experimenting and are pretty pleased with what we created.


As Elise suggested, we first outlined our shape on a sheet of thick white paper. We drew our hearts free-hand but traced around bought cardboard cut-outs for our cloud and flower. I made stripes across the shapes using a ruler. Jasmine and I then used paint brushes dipped in water to apply the watercolours to each stripe.


When the paint had dried we cut out the shapes. We wrote a birthday message on one of the hearts.


Wednesday 20 February 2013

Styrofoam sculptures and prints


When I found myself with a bunch of styrofoam packaging left over from some new piece of equipment my husband purchased for the garden, I remembered a great post I had seen over at The Artful Parent. They made styrofoam scupltures. We decided to do something similar. We used:
  • broken pieces of styrofoam
  • colourful pipe cleaners
  • feathers
  • glue
  • paint
  • toothpicks
  • wooden skewers
  • colourful paddle pop sticks


We had a great deal of fun twisting the pipe cleaners and experimenting with different coloured feathers and paint. We were hoping to make a super tall sculpture but we discovered that there is a definite technique required in making sure your sculpture doesn't tip over.


We also tried printing different patterns using the styrofoam and paint. We used a pencil to poke holes in the styrofoam and then covered the image with a layer of paint before impressing it on a clean piece of paper.


Thursday 14 February 2013

Mosaic pots

Jasmine and I have been making mosaic pots for the garden after school this week. We used the following materials from Bunnings hardware store:
  • waterproof teracotta pots
  • Mandala Art mosaic glue paste
  • Mandala Art glass mosaic tiles, and
  • mosaic glass cutting tool. 
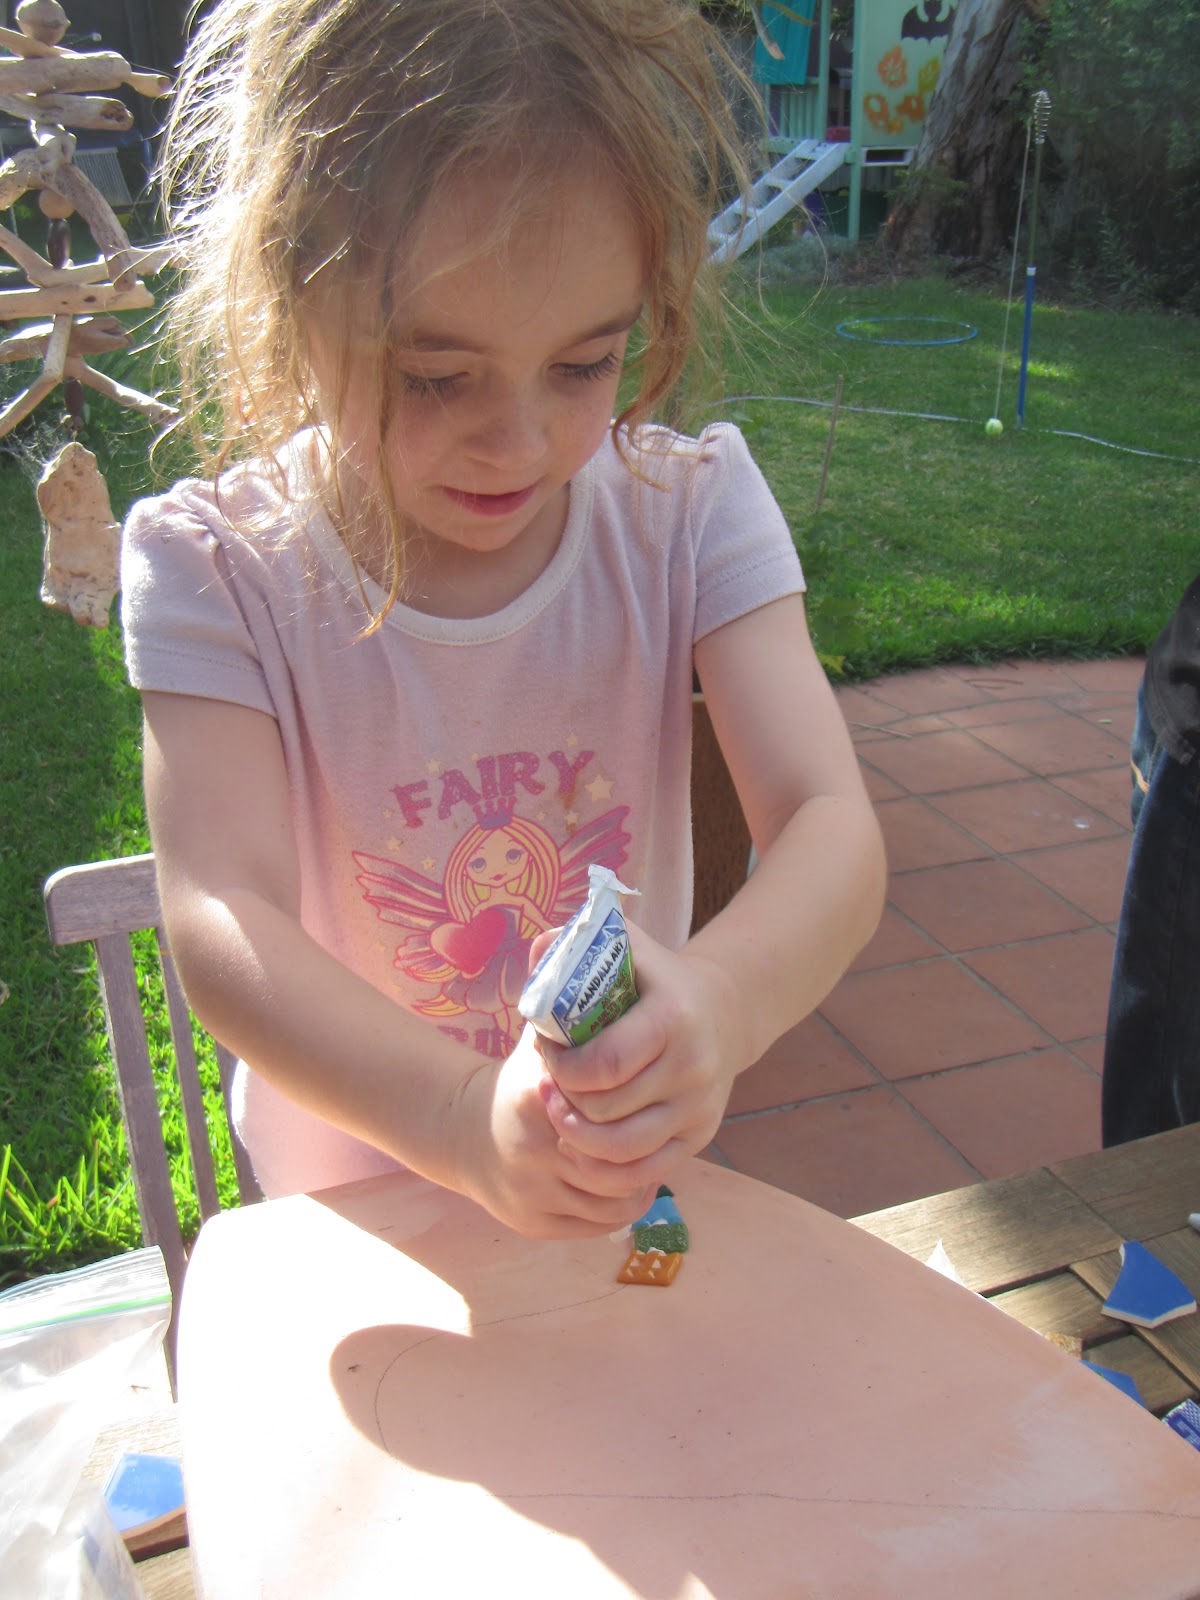
For the first pot, we made different patterns for the four different sides of the pot. To begin with Jasmine made a squiggly line with glue and laid a variety of coloured square tiles along the line.


We left the first pot to dry overnight. Jasmine drew a butterfly on another pot with a lead pencil and she began squeezing out the glue and sticking on small square tiles.


I think she did a fabulous job.


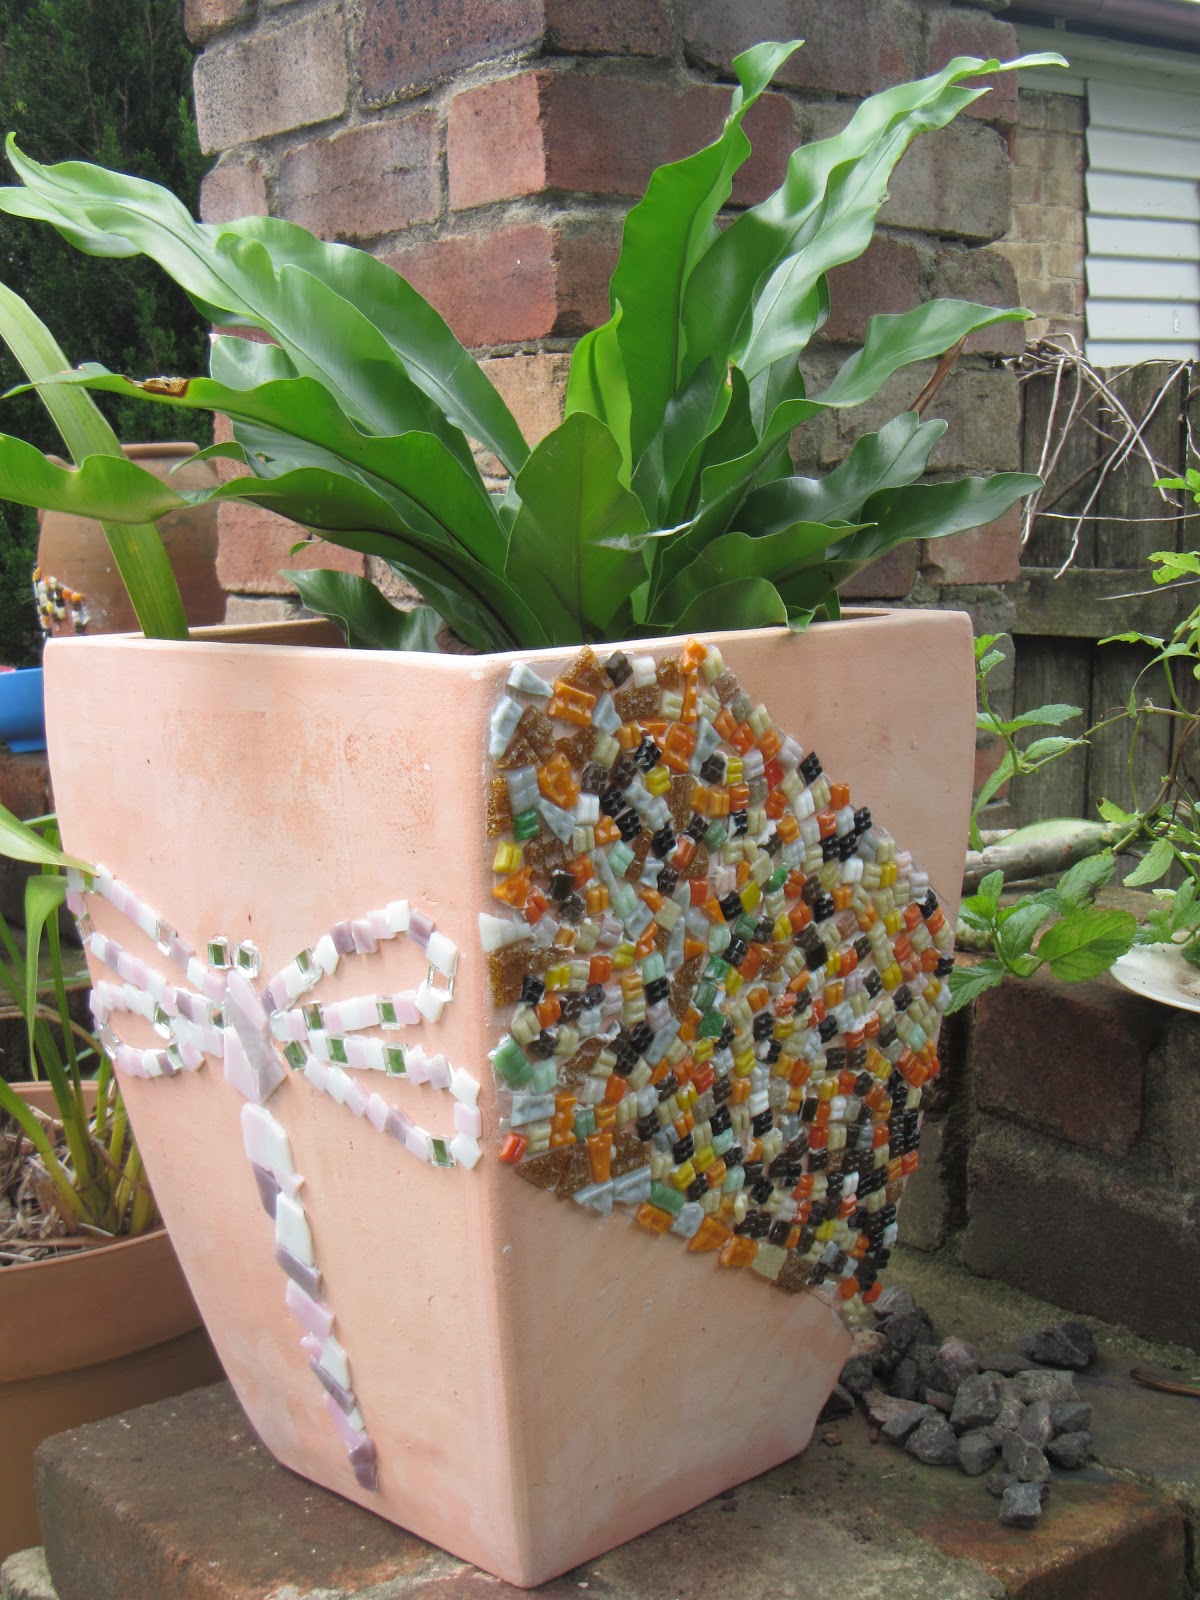
We talked about different ideas for decorating pots, inspired by what's in the garden and decided to try making a dragonfly, a green leaf and some autumn leaves. It was a bit tricky for Jasmine to break the tiles. She tried to break a few with my mosiac cutting tool and my sunglasses on to protect her eyes but mostly it was safest and easiest for me to cut the tiles.


Our dragonfly is probably my favourite. 


 And I don't mind our green leaf.


Unfortunately our autumn leaves didn't really work out so we turned them into a band of autumn colours instead.


For the designs we chose, it wasn't necessary to use grout. However, we will soon try a different pot and a new number for our house where we will use grout. I will let you know how this goes.

Saturday 9 February 2013

Mod podge pencil holders

It's been an exciting week in our household with Alex and Jasmine starting school. There's been a few ups and downs with so many new things to get used to. Today we welcomed two puppies into our household. The kids said it was "the best day ever .... even better than Christmas".

Amid all these new events, Jasmine and I have still managed to potter around in our craft room. We bought some MDF pencil holders at the hardware store on a recent visit. This week we decided to decorate them with:
  • paint
  • mod podge
  • scrap book paper.
Step 1: Apply one or two coats of craft paint and leave to dry.


Step 2: Cut out scrapbook paper images.


Step 3: Stick the images on the dry paint using mod podge. The mod podge acts like glue under the paper and then if you add a few coats on top of the paper it leaves a nice smooth finish. Such great stuff!